We have come a long way from mounting our Garmin devices on our stems using the "rubber band" mounting option. Whilst there are myriad of options available these days for mounting computers in various configurations, we have yet to see a mount as adaptable and as lightweight as the CarbonWorks Garmin Mount.
If you are utilising a stem which can take advantage of this mount, you will have not only a lightweight mount that is aesthetically pleasing but also infinitely adjustable to suit your requirements as you see fit.
Below we will run you through the installation procedure of this mount.

1. Firstly, deconstruct the cockpit holder so that the hollow silver stem holding bolts are free and loose. Once the stem bolt's are by themselves, utilise these bolts and replace two of the bolts on your stem's face plate. You can mount on the top two row's or the bottom two. For a more aero position, we recommend the lower row. Torque to standards of your handlebar/stem.

2. Once stem/handlebar is secured, re-mount the cockpit holder to the hollow silver stem bolt's as per below picture. There is no need to tighten completely as we will need the assembly to be loose to adjust positioning later on. Enough torque to simply hold it together is fine.

3. Mount the Garmin/Wahoo plate to the cockpit holder.

4. Loosen these two bolt's. This will help us with aligning your Garmin.

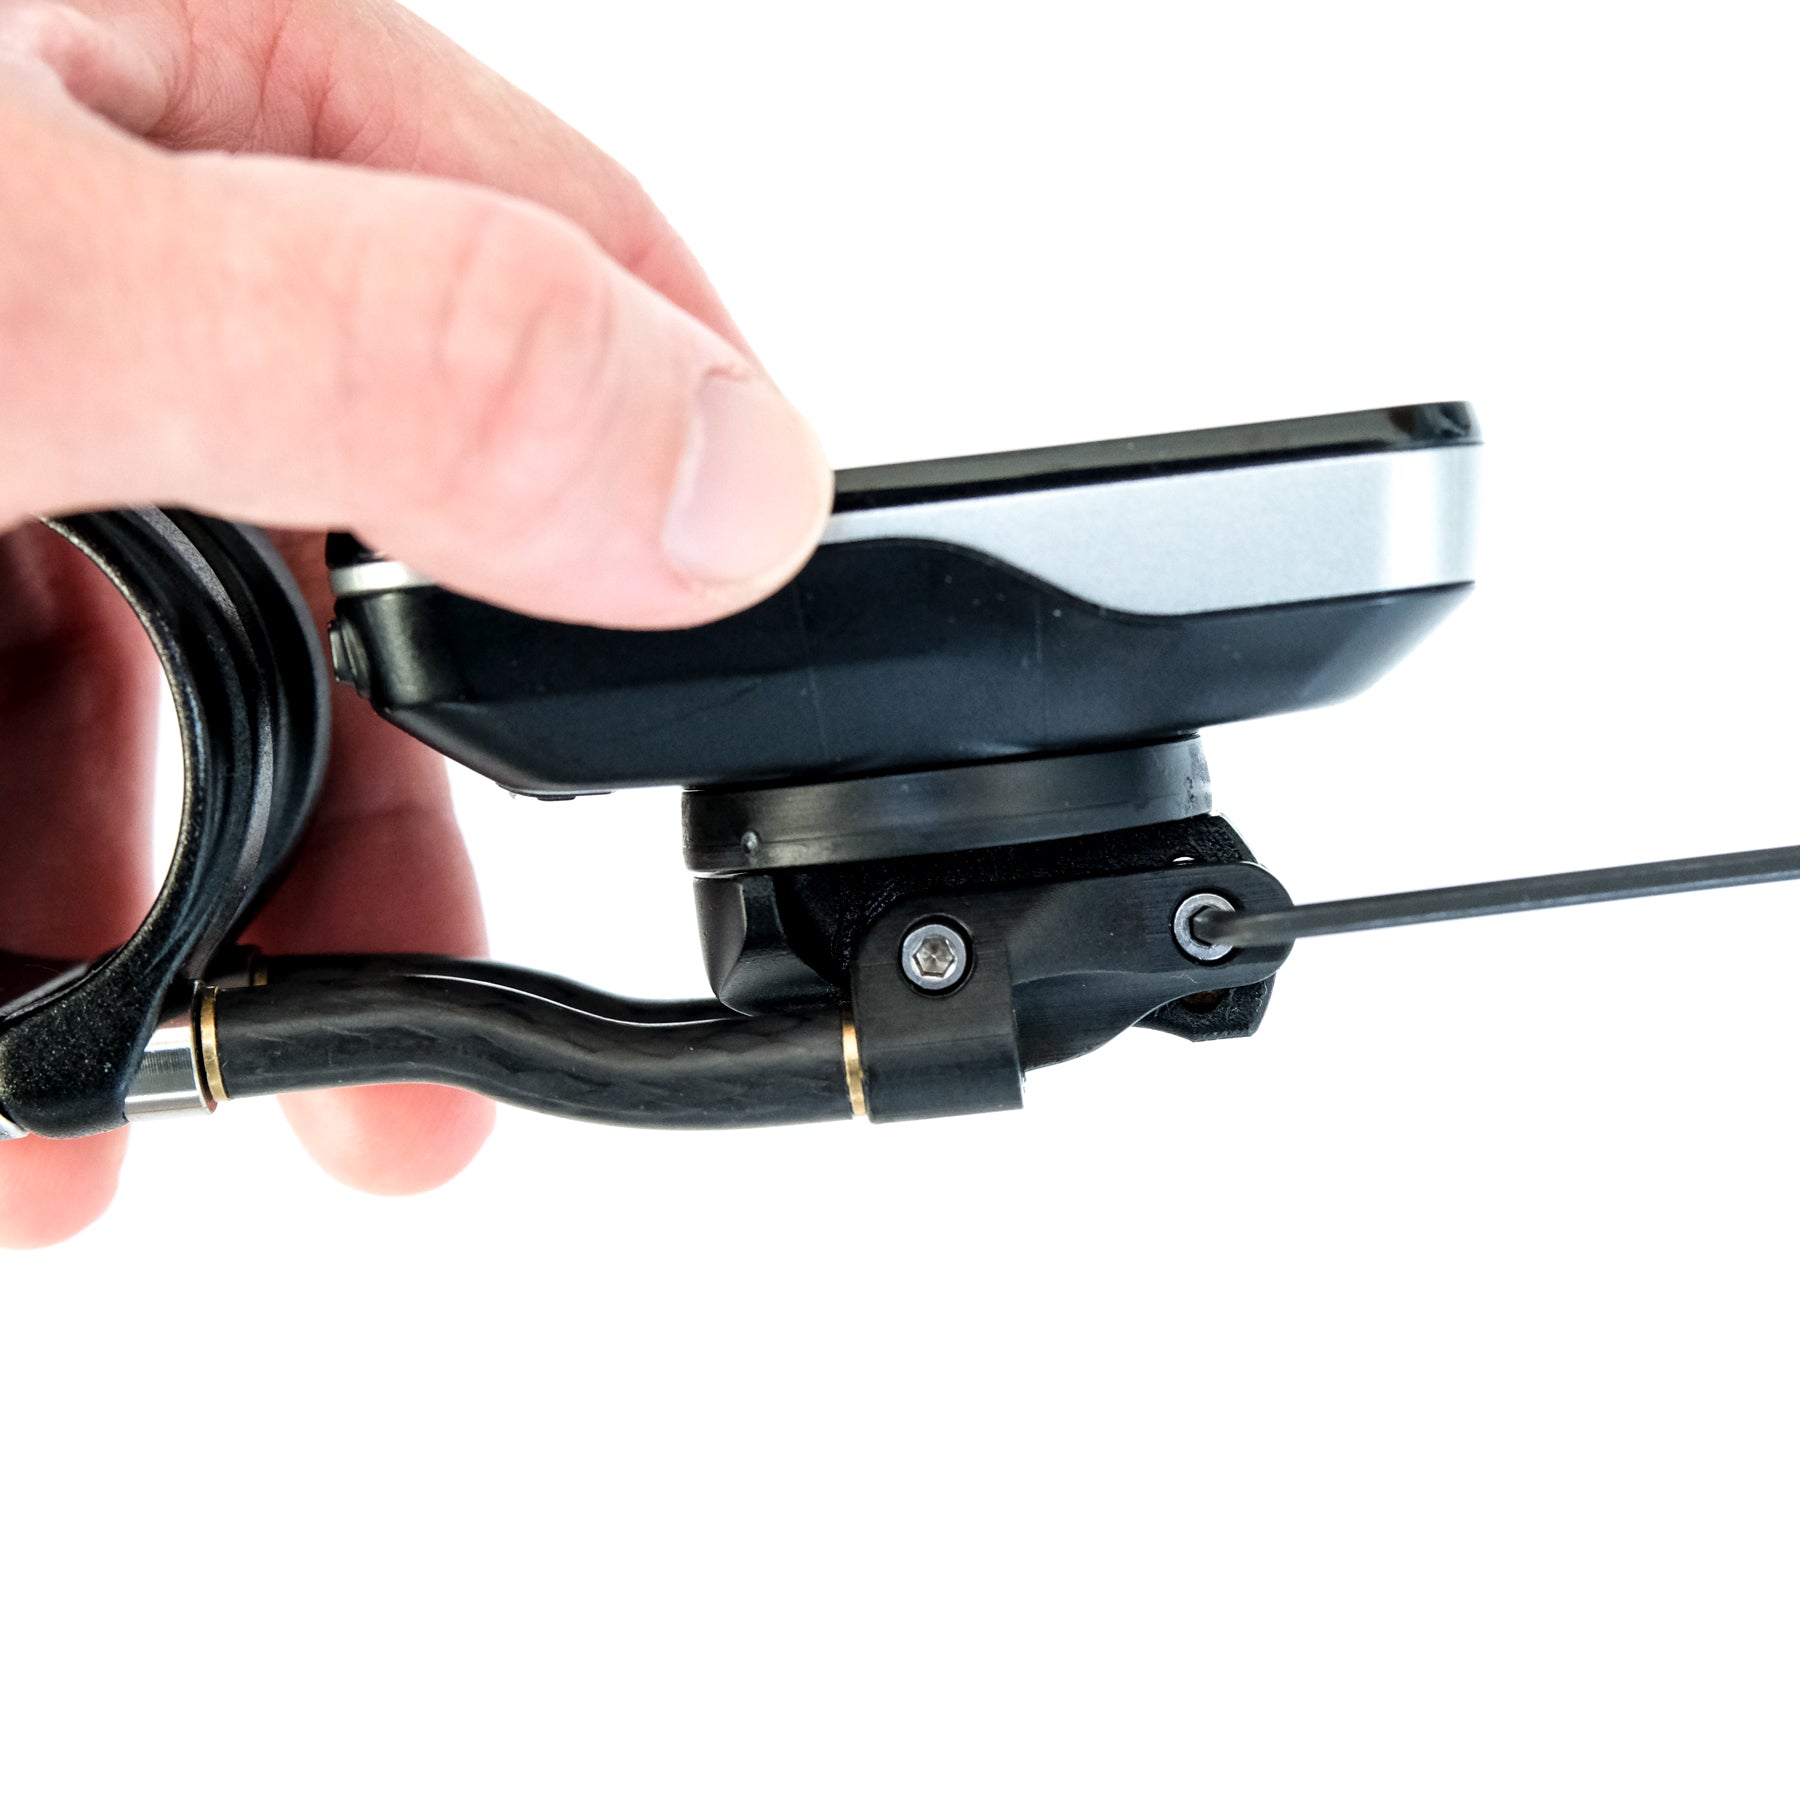
5. Mount your Garmin and begin aligning everything to your preference and once completed, tighten these four bolts taking into consideration torque ratings. Keep in mind that they are tiny bolts so do not excessively tighten or you will strip the bolts. They are not going to have a huge amount of force bearing on them in any case.


6. Adjust the tilt angle of the Garmin as per below picture.

INSTALLATION EXPERIENCE :: The mount does require more effort and configuring upon initial installation vs anything else on the market, but you are rewarded with a much more adaptable setup. Once setup, you shouldn't need to configure it any further.
Please also note that the reach on the Garmin is adjustable by utilising one of the three positions below.

