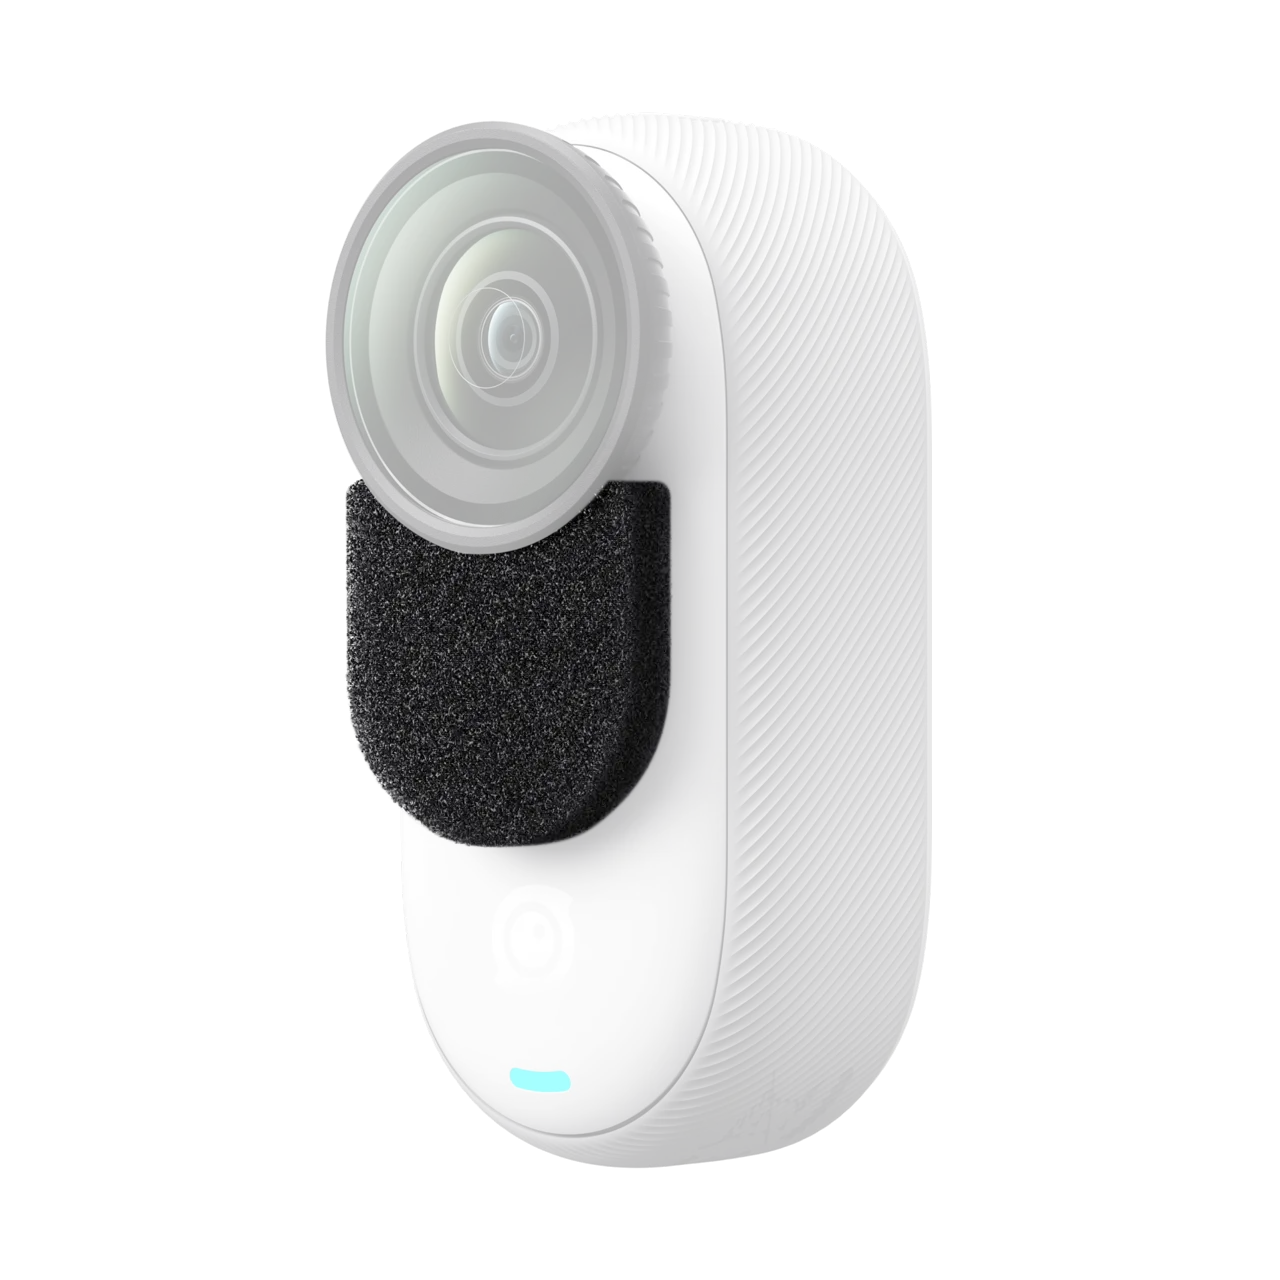
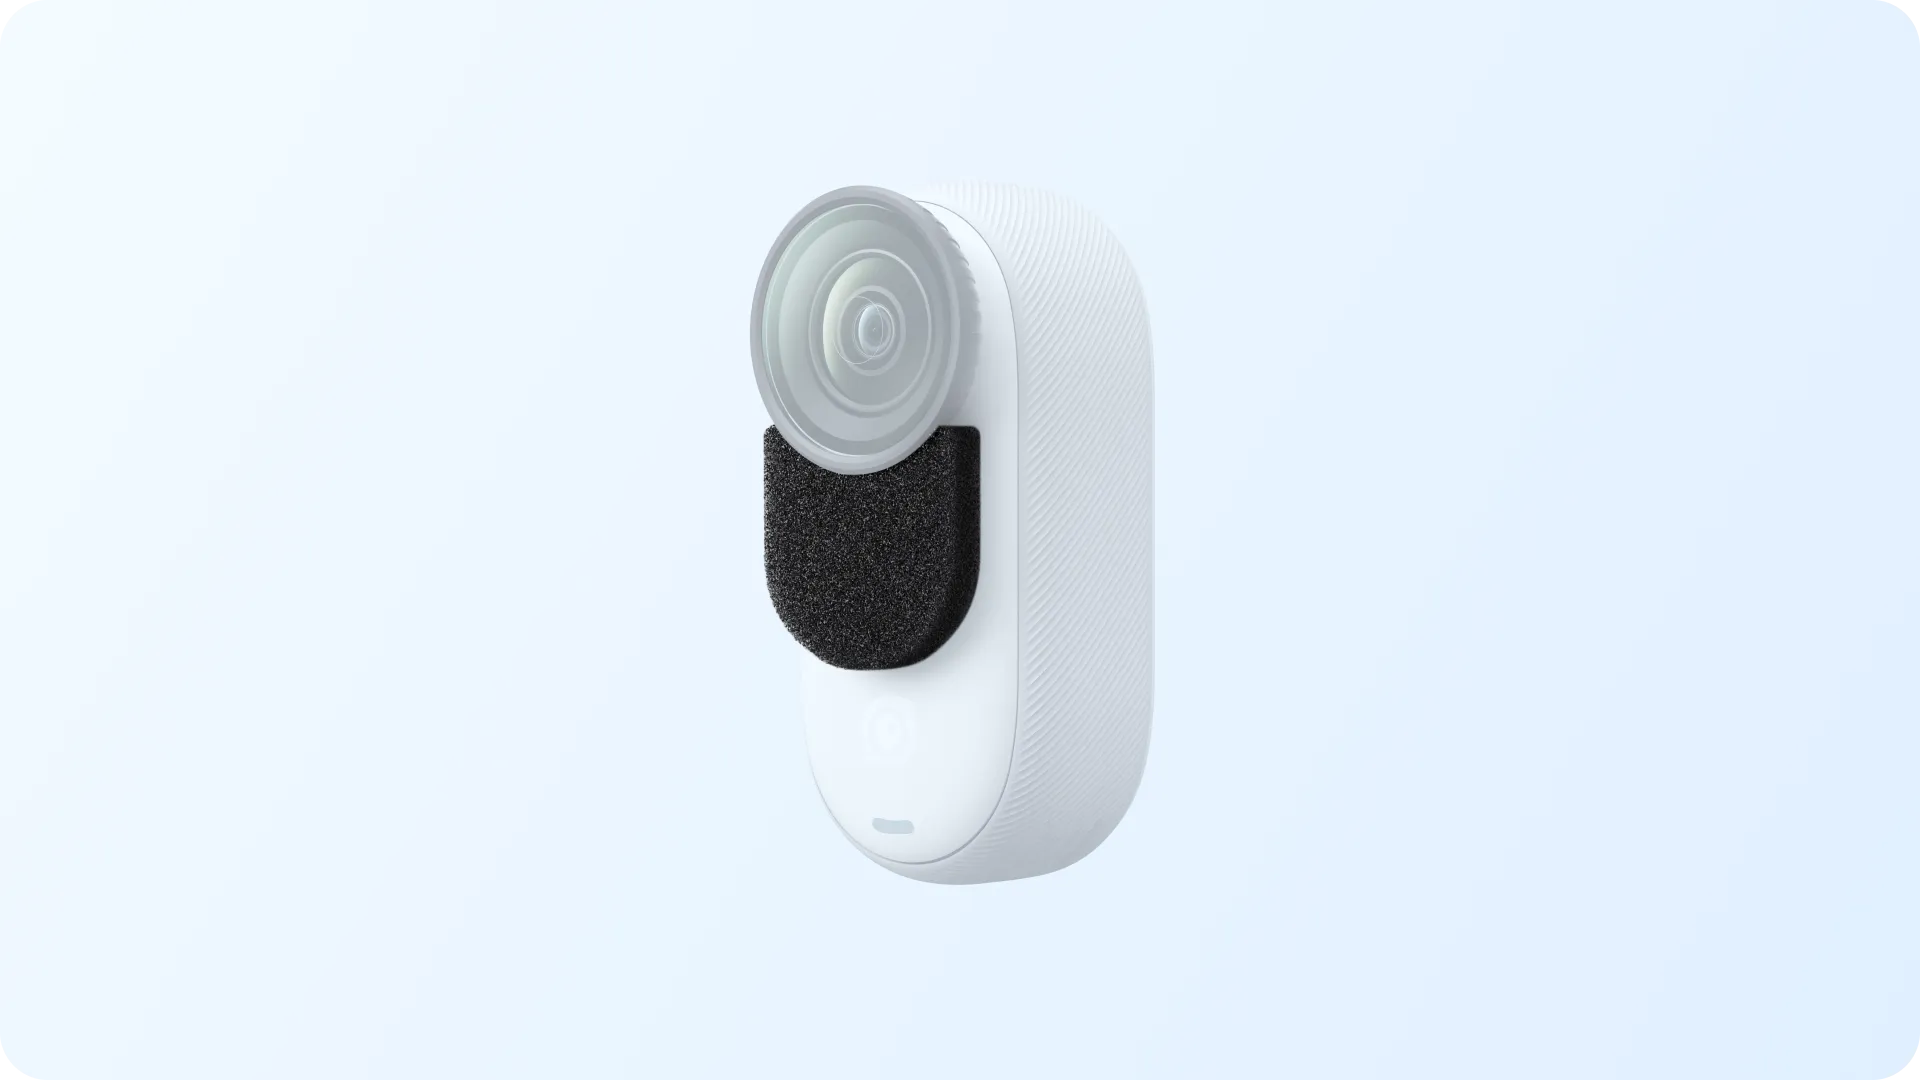
Insta360 Go 3S Mic Wind Muff

Mic Wind Muff

Clear audio, no wind.


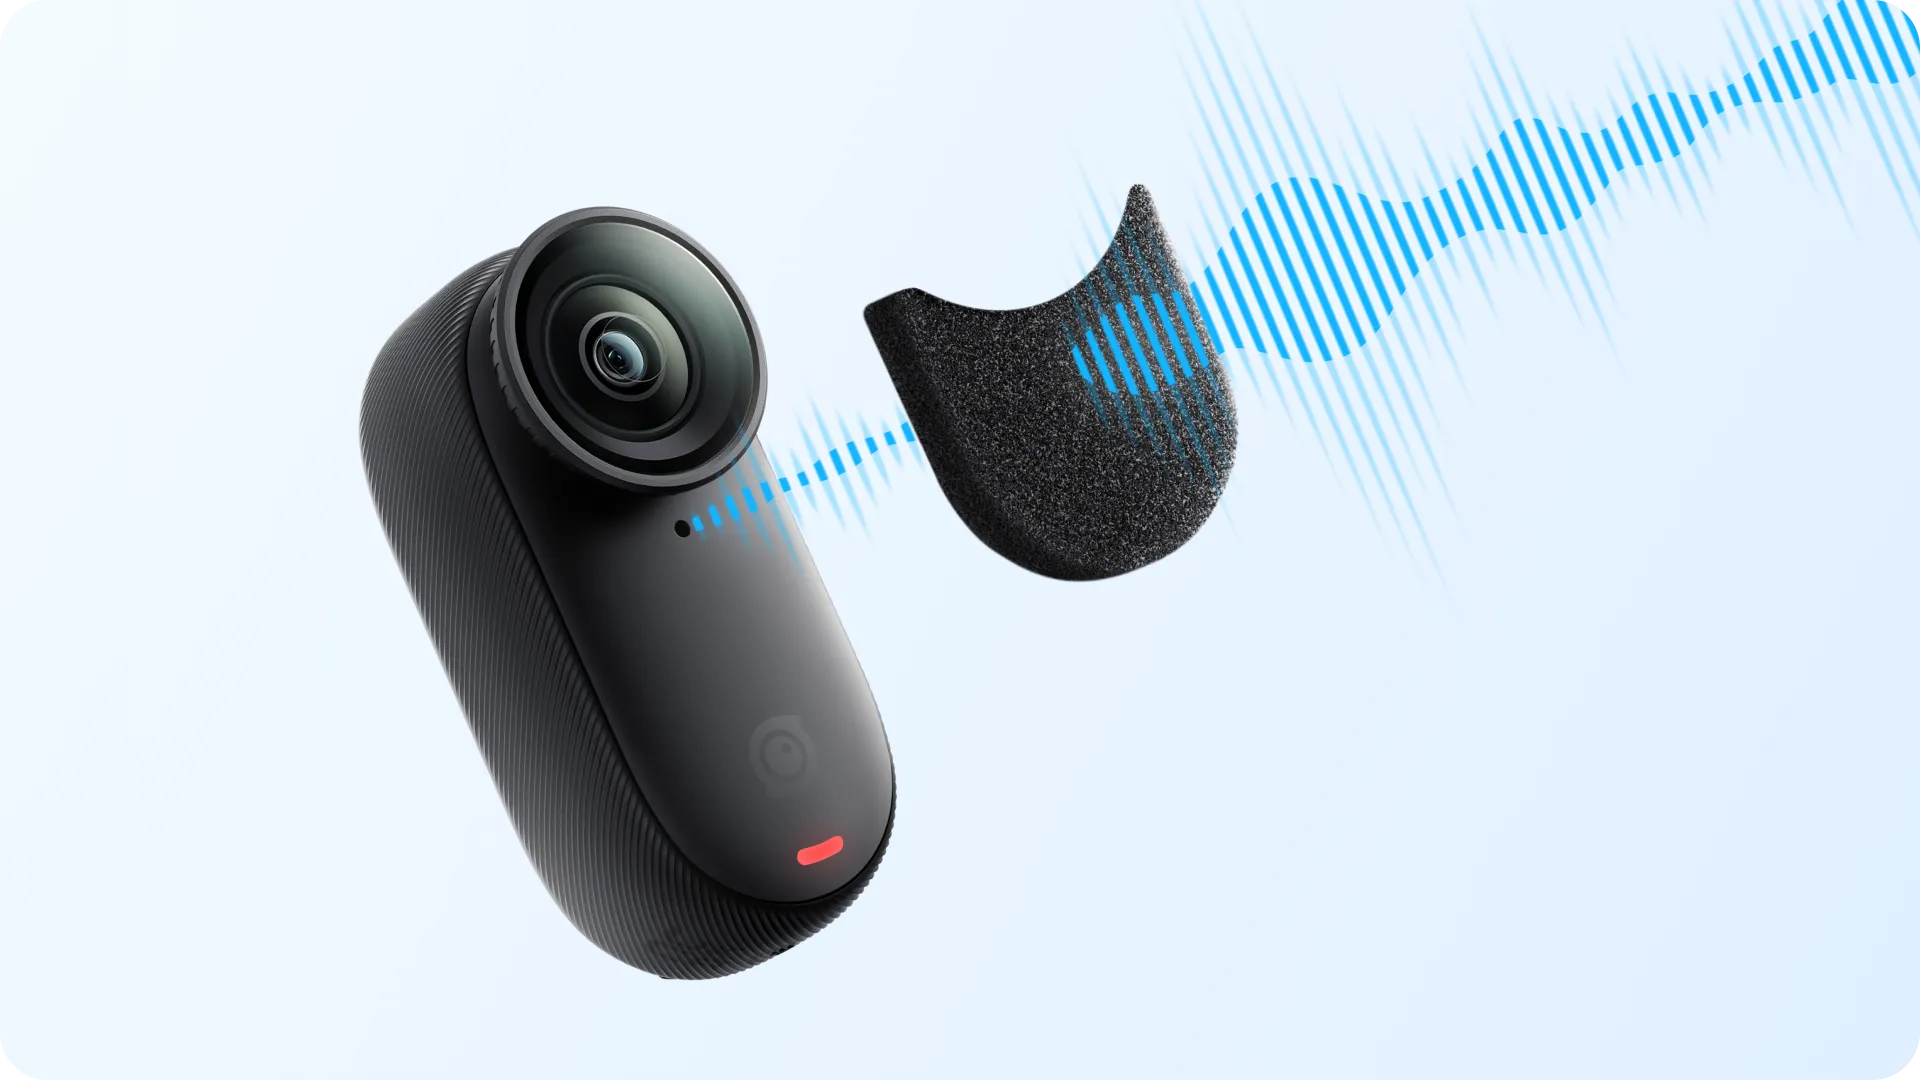
Acoustically transparent.

Effectively reduces wind noise without affecting recorded sound. Hear more of what you want and less of what you don't.

Fits like a glove.

Specially designed for GO 3 and GO 3S to stay out of footage and capture crystal-clear audio.


In the Box

4x Mic Wind Muffs

Specs
Material:

Sponge, fabric glue

Weight:

0.2g

Dimensions:

19.1x18.5x4.7mm (0.8x0.7x0.2in)

How to Use
  1. Remove the film from the Mic Wind Muff. Align and stick it under the camera lens, ensuring it does not cover the microphone hole. Press down gently for a few seconds to ensure it is secure.
  2. To remove the Mic Wind Muff, gently peel it off from the edge of the camera lens. Avoid pulling it from the center.


*Notes:

  1. Before installing, make sure the camera is clean and dry.
  2. Ensure both the Mic Wind Muff and Custom Skin do not cover the microphone hole.
  3. Before shooting, ensure the Mic Wind Muff is firmly attached. Otherwise, the noise reduction effect may be affected.
  4. Stick the original film back onto the Mic Wind Muff when not in use to maintain the adhesiveness. If it loses adhesiveness, clean it with a damp cloth, dry it, and reuse it.
  5. Use and store the Mic Wind Muffs in a dry environment. Do not use them for water sports or rainy days, as dampness may affect the noise reduction effect.
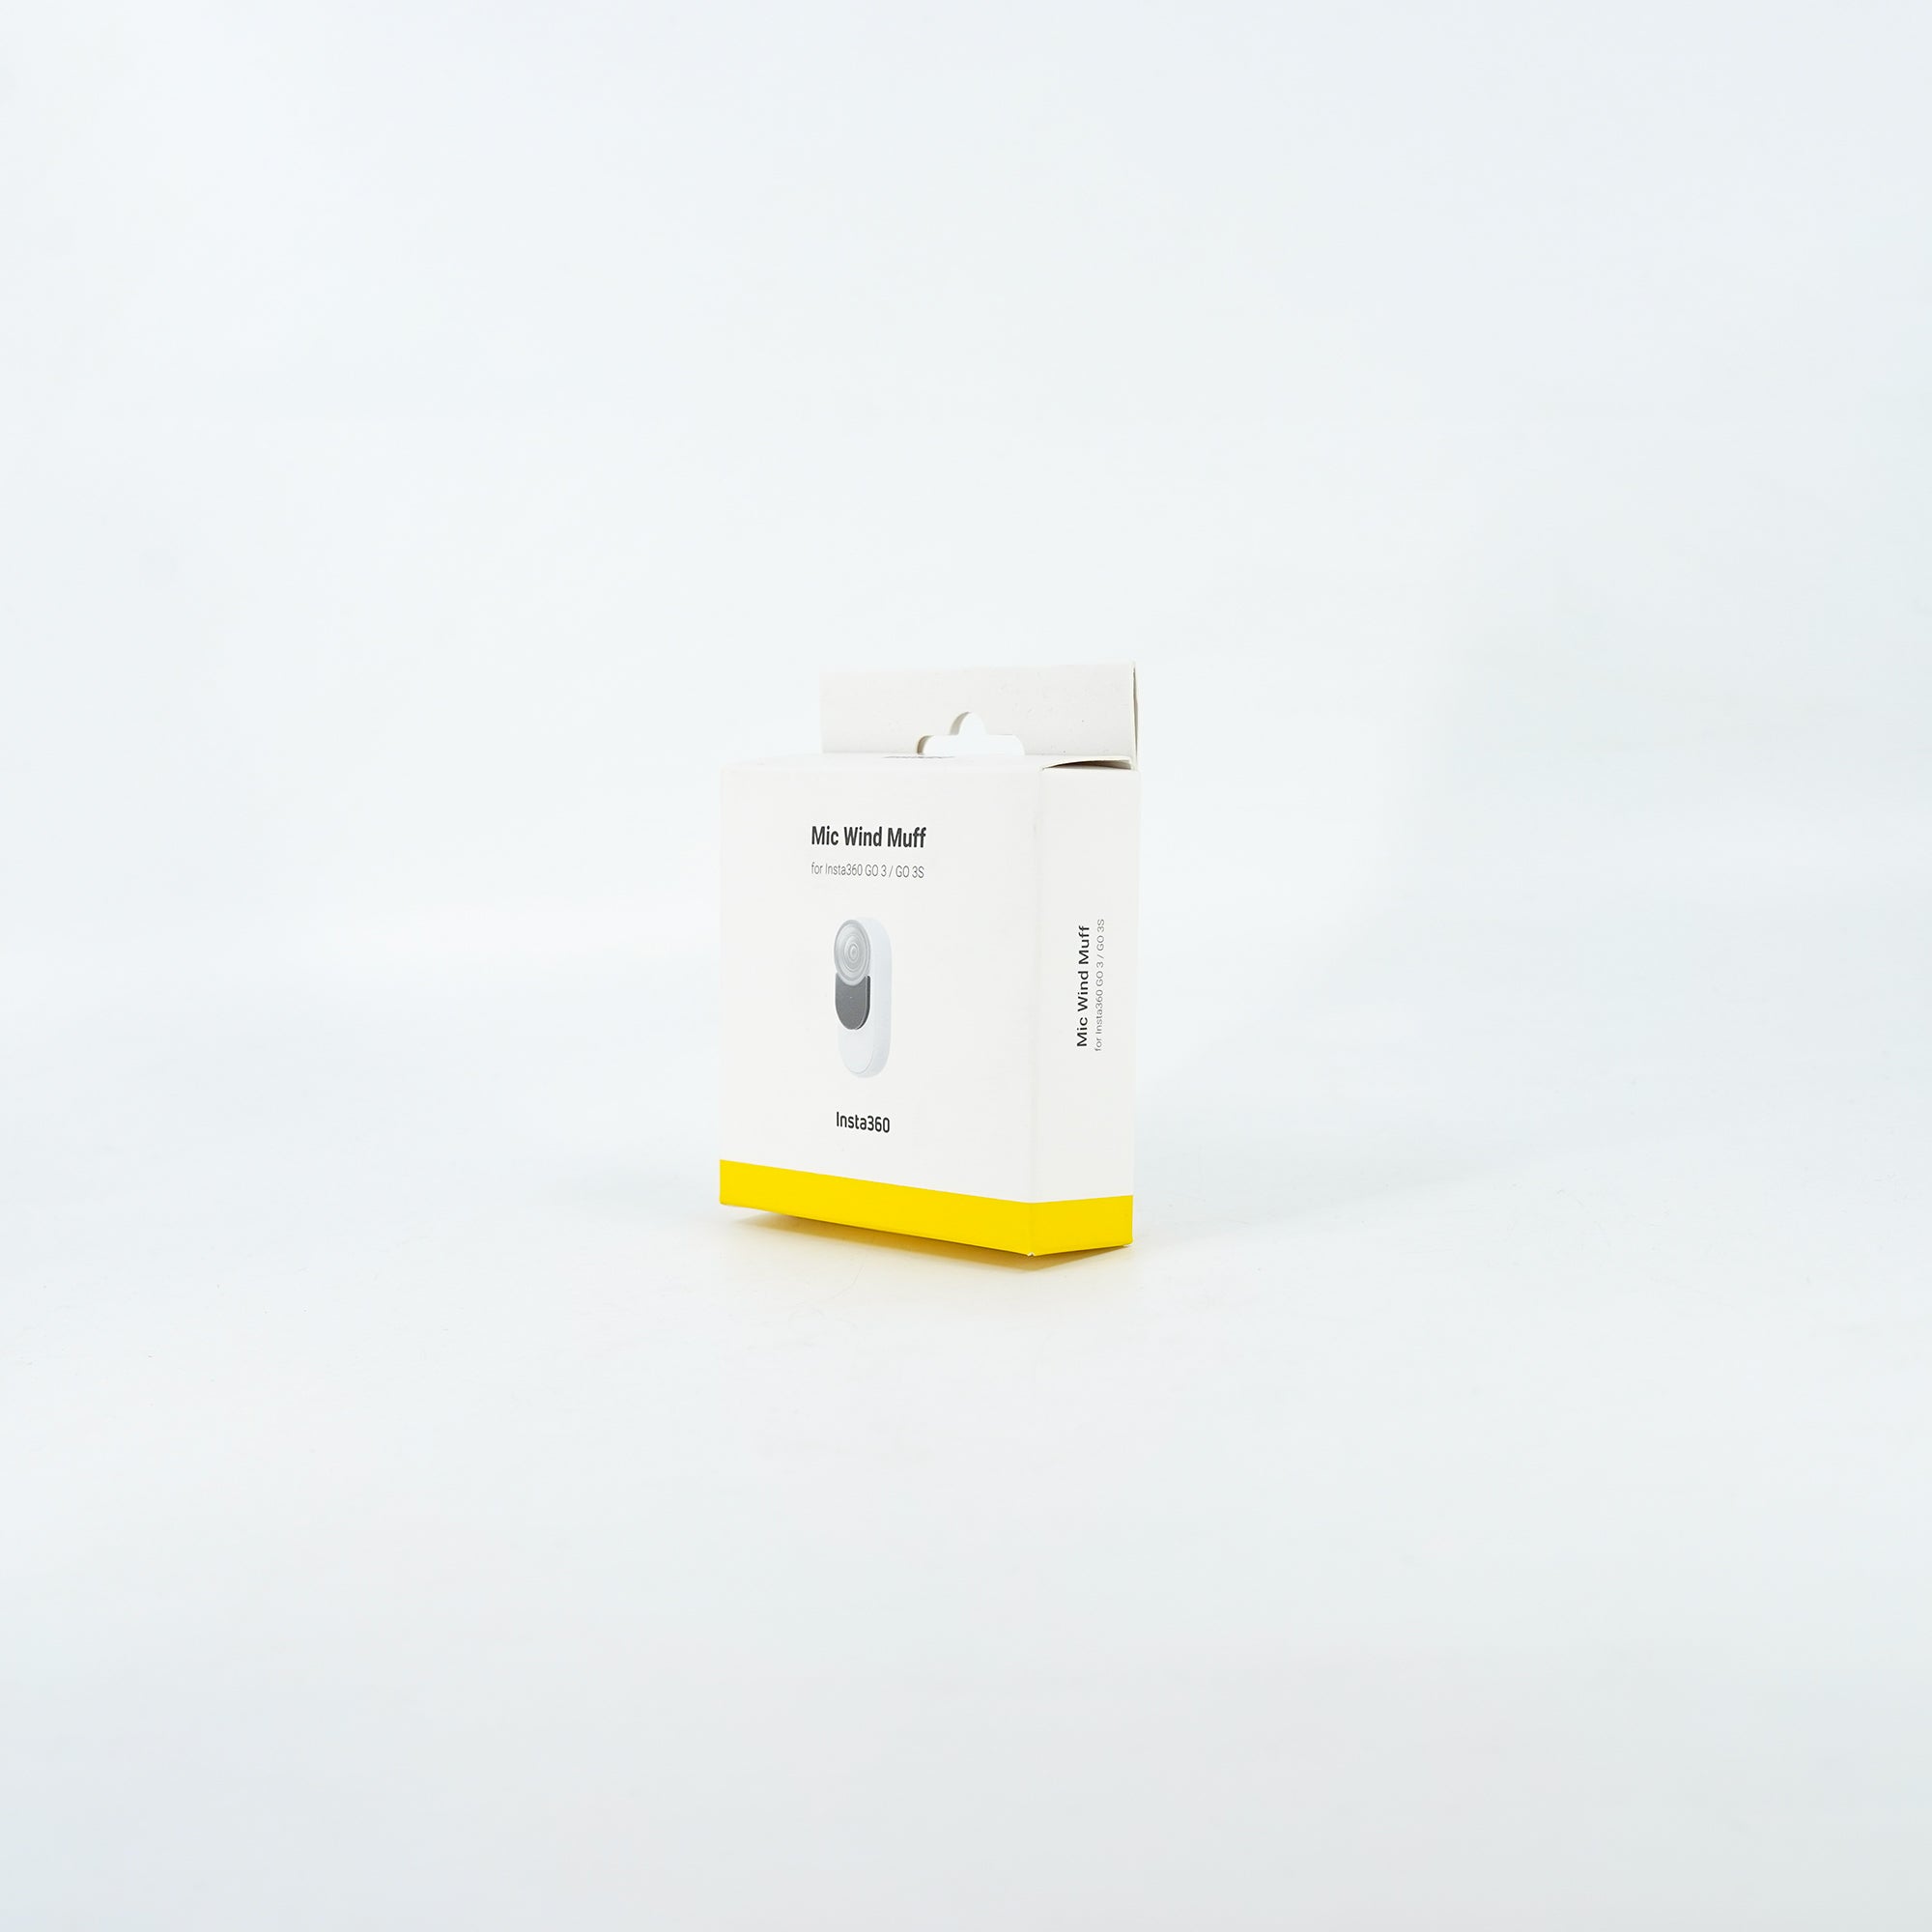
Insta360 Go 3S Mic Wind Muff

$16.99 Sale Save
Compatibility
Adding to Cart Added to Cart

Mic Wind Muff

Clear audio, no wind.


Acoustically transparent.

Effectively reduces wind noise without affecting recorded sound. Hear more of what you want and less of what you don't.


Fits like a glove.

Specially designed for GO 3 and GO 3S to stay out of footage and capture crystal-clear audio.


In the Box

4x Mic Wind Muffs

Specs
Material:

Sponge, fabric glue

Weight:

0.2g

Dimensions:

19.1x18.5x4.7mm (0.8x0.7x0.2in)

How to Use
  1. Remove the film from the Mic Wind Muff. Align and stick it under the camera lens, ensuring it does not cover the microphone hole. Press down gently for a few seconds to ensure it is secure.
  2. To remove the Mic Wind Muff, gently peel it off from the edge of the camera lens. Avoid pulling it from the center.


*Notes:

  1. Before installing, make sure the camera is clean and dry.
  2. Ensure both the Mic Wind Muff and Custom Skin do not cover the microphone hole.
  3. Before shooting, ensure the Mic Wind Muff is firmly attached. Otherwise, the noise reduction effect may be affected.
  4. Stick the original film back onto the Mic Wind Muff when not in use to maintain the adhesiveness. If it loses adhesiveness, clean it with a damp cloth, dry it, and reuse it.
  5. Use and store the Mic Wind Muffs in a dry environment. Do not use them for water sports or rainy days, as dampness may affect the noise reduction effect.


ccache-x-farsports-handlebar-spacer-adapters


bont-riot-road-shoe-white-side
 
 
pirelli-p-zero-race-tlr-retro


SRAM Force AXS 12-Speed Power Chain - CCACHE


exposure-tracer-mk3-daybright-125-lumens
 
exposure-trace-mk3-daybright-125-lumens
 
lezyne-strip-drive-pro-400-rear-light